Product Description
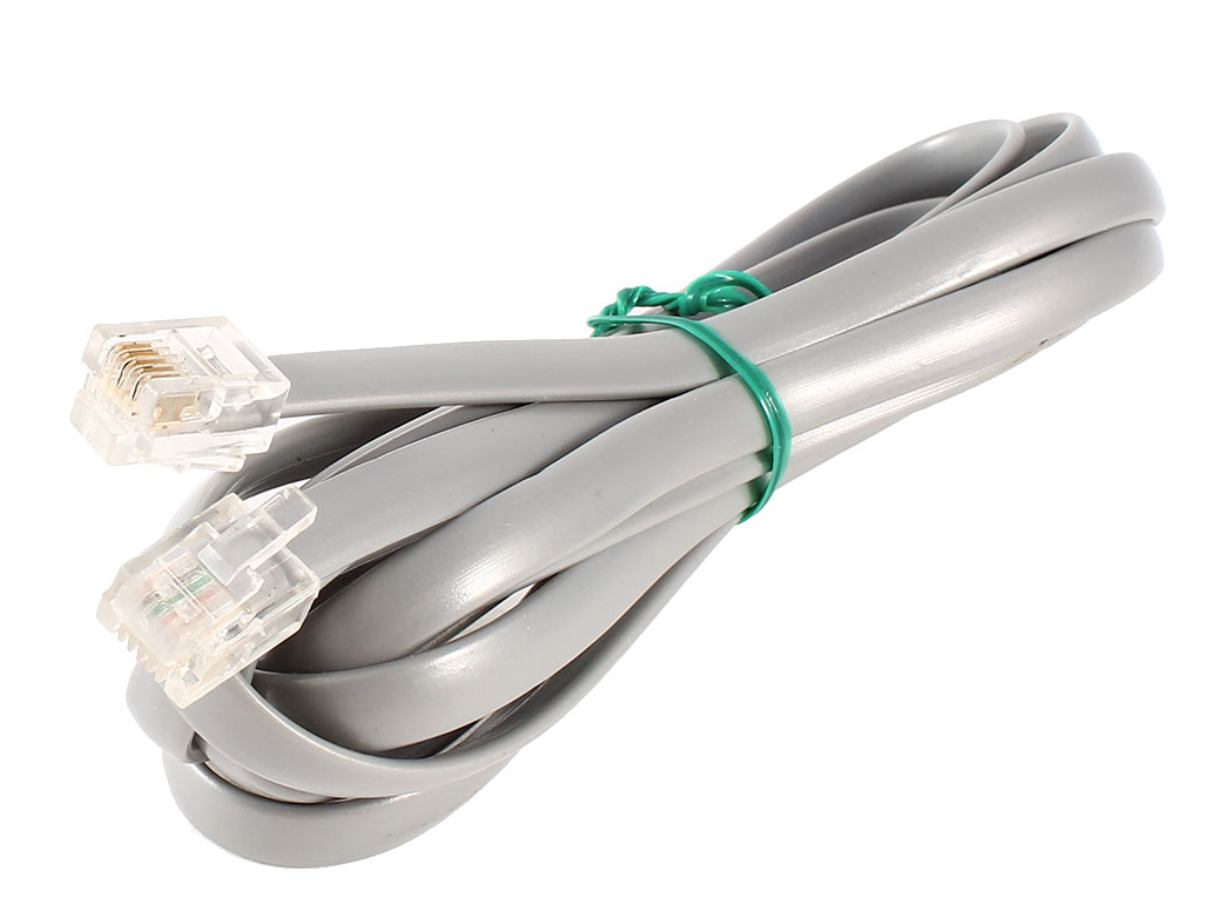
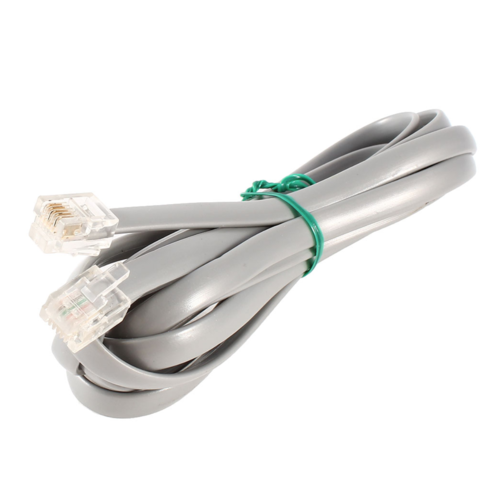
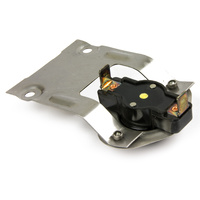
The Braemar Spectrolink Loom is a component associated with the Braemar Spectrolink Control System, which is typically used for controlling Braemar gas heaters and evaporative coolers. The loom refers to the wiring harness or cable assembly that connects various electrical components of the system to ensure proper functioning and communication between the control unit and the heating/cooling equipment.
Key Features of the Braemar Spectrolink Loom:
-
Wiring Harness:
- The Spectrolink Loom serves as a pre-wired assembly that connects the Spectrolink Control to the relevant parts of the heating or cooling system. This can include sensors, the control board, or other key components necessary for the proper operation of the unit.
-
Connectivity:
- It ensures seamless communication between the Braemar unit (gas heater or evaporative cooler) and the Spectrolink Control System, allowing for centralized control of the system.
-
Plug-and-Play:
- Typically, the loom is designed for easy installation, making it a plug-and-play solution. Once connected to the Braemar system, it enables quick communication between components without requiring complex setup.
-
Durability:
- The loom is built to handle the conditions within the gas heater or evaporative cooler, ensuring that the wiring remains intact over time, even under high temperatures or humidity.
-
Compatibility:
- The Spectrolink Loom is specifically designed for use with the Braemar Spectrolink Control System, and it ensures that your Braemar system operates at its highest efficiency and with maximum safety.
Installation of the Braemar Spectrolink Loom:
-
Turn Off Power:
- As with all electrical installations, ensure the power is turned off before starting any installation work to avoid electrical hazards.
-
Locate the Spectrolink Control System:
- Find where the Spectrolink Control unit is installed within the system, usually near the gas heater or cooling unit.
-
Install the Loom:
- Connect the loom to the relevant parts of the heating or cooling unit and the control board as instructed by the system’s installation manual. The loom will usually have color-coded wiring or labeled connectors to help with installation.
-
Check Connections:
- After installation, ensure all connections are secure and properly aligned.
-
Test the System:
- Once the loom is connected, turn on the system and check for proper functionality. Ensure that the Spectrolink Control communicates correctly with the connected parts of the system and that the unit operates as expected.
Troubleshooting:
-
System Not Responding:
- If the Spectrolink Control or system does not respond, it may indicate a connection issue with the loom. Check all wiring and connections to ensure that they are properly installed.
-
Error Codes:
- If there are any error codes, refer to the user manual for troubleshooting steps. Error codes may point to a faulty connection or malfunctioning component that is part of the loom.
-
Loose or Damaged Wires:
- Inspect the loom for any loose or damaged wires. If any wires appear to be frayed or broken, the loom may need to be replaced.
-
Connection to Control:
- Ensure that the loom is correctly connected to the Spectrolink Control. Sometimes re-seating the connectors or ensuring they are plugged in completely can resolve issues.
Conclusion:
The Braemar Spectrolink Loom is an essential wiring harness for ensuring proper communication between the Braemar Spectrolink Control System and the heating or cooling unit. It is designed to make installation straightforward and ensure the system operates efficiently and safely. If you’re looking to replace or install a Braemar Spectrolink Loom, ensure you follow the correct procedures, and consider consulting a professional if necessary.